My mom first showed me worm composing aka vermiculture when I was a teenager. I didn’t help much back then except to sometimes put the kitchen scraps in the bin, but it was really fun to see the worms enjoying meals that were otherwise waste.
Nowadays I’m living down the street from mom and helping her out with a fresh crop of worms! Vermiculture is a quality, fun family project!
Mom has used worm compost in her gardens on and off since the 70s. She has anecdotal evidence that the compost helps plants grow exponentially bigger than with miracle grow based on the results of her smaller worm composting last year.
Worm composing is essentially keeping worms as working pets. You create the right environment for them, feed them the correct scraps and in time have incredibly nutrient dense compost to put into gardens.
We have learned a lot in the past four months and I wanted to share some of our key learnings.
Plastic storage bins that are roughly this size have been most effective for us. We tried bigger bins and those didn’t fare as well as the more shallow bins.
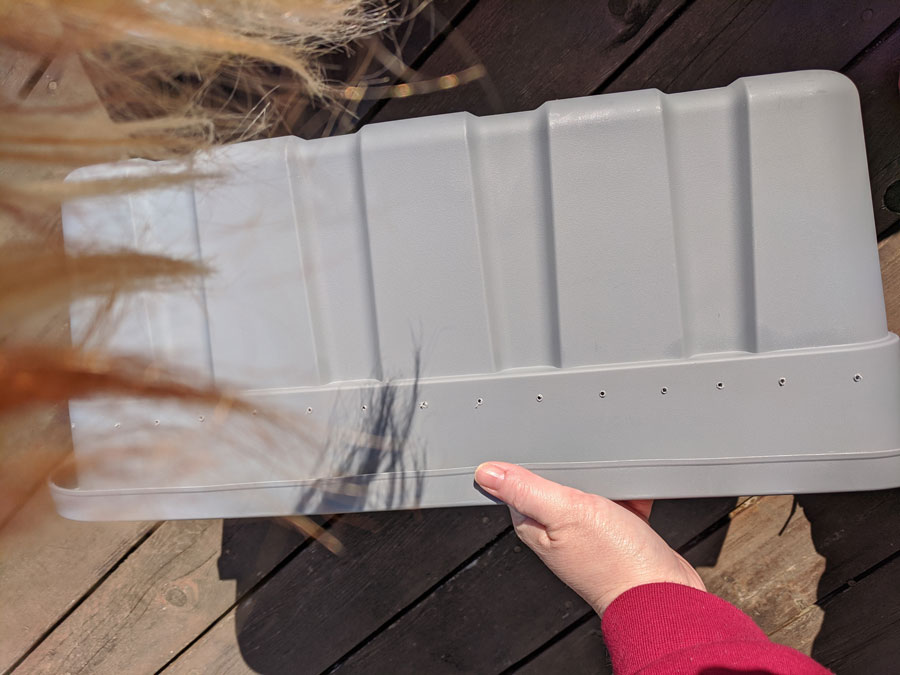
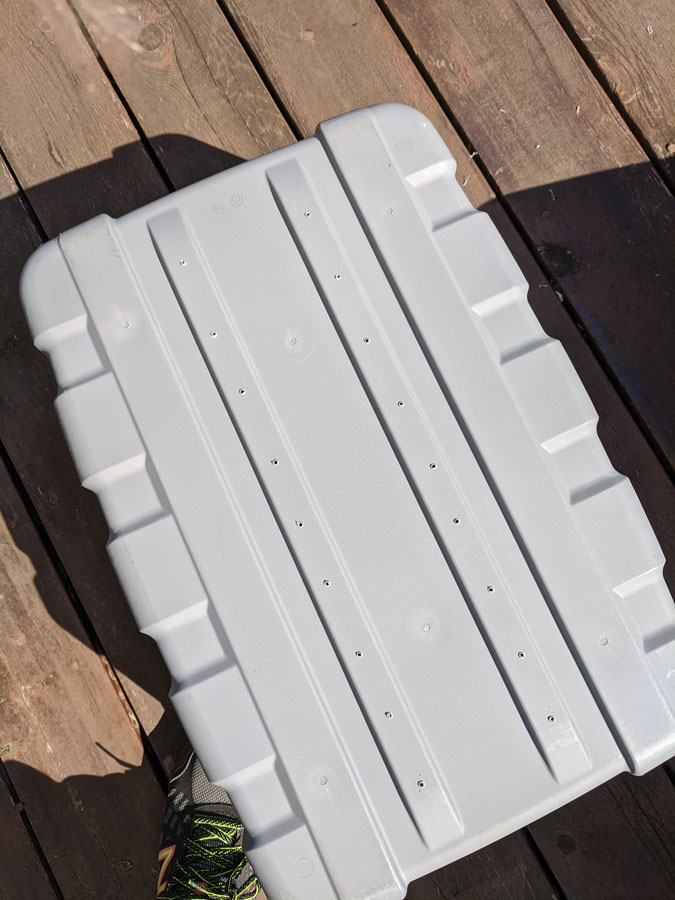
Drill holes too small for the worms to wiggle out of about 2 inches apart so that air can get in and water can drain out. Holes on the bottommost part of the bin and around the top side of the bin are sufficient.


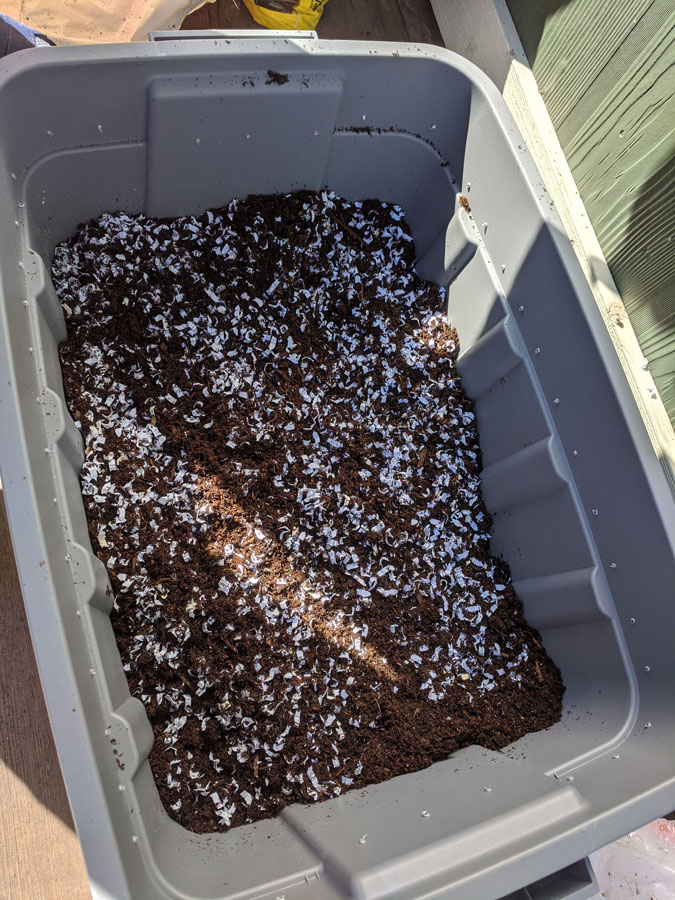
Lay down a layer of paper scraps, fertilizer and a bit of soil for grit, approximately 2 inches high total and well mixed.

Add in kitchen scraps. No citrus, meat or trash. Veggie ends, banana peels, coffee grounds (mom opens up her kcups and dumps the coffee out), tea bags made with paper filters, apple cores. Those kinds of things. I hold onto veggie ends for making bone broth but anything else ends up scraps for the worms. We learned that the worms did not like old bread or gluten free matzo. They loved the leftover flowers from dead hydrangeas but not the stems (they ate them clean like rib bones).
Next add in red worms. You can get them from a bait store or oder them online as my mom originally did. They multiply in the bins so start with 30 or so per bin.
Then a layer of leaves for insulation, and a layer of newspaper for insulation. Then a good amount of water so it’s damp but not drippy.
Set the bins someplace where they won’t freeze in the winter and maybe out of the light of the sun. Under a deck, in a corner of the garage or a shed are great spots. Set them on top of a tray (we used old plastic bin lids) so that you can catch the compost “tea” that drains out. This is great for adding nutrients to plants! We have many bottles of it after this winter.
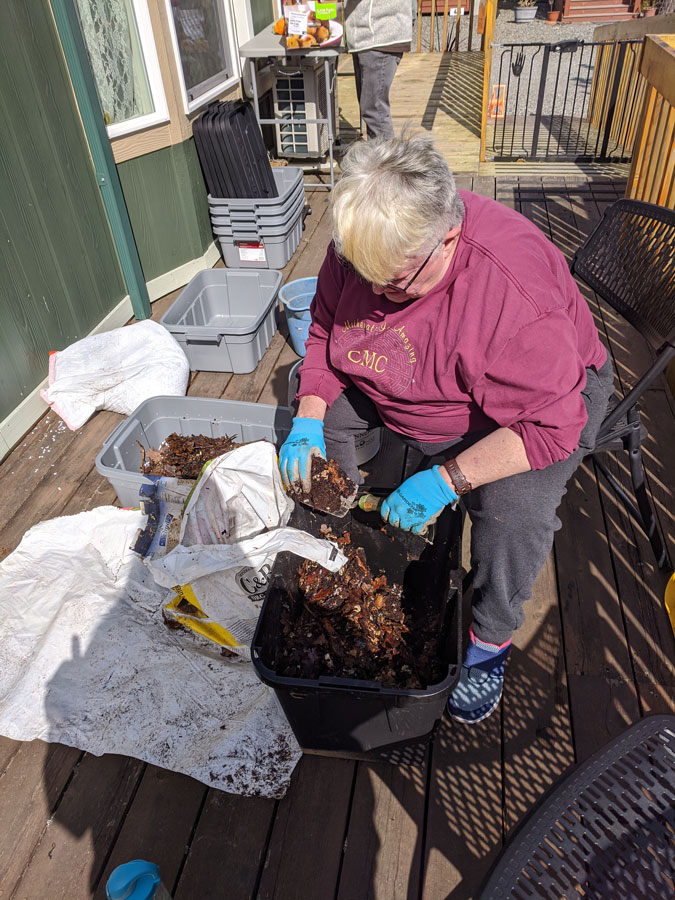
You’ll need to visit the worms about every 3-4 weeks to add more kitchen scraps, more water, drain the tea off the drip trays and make sure the worms are doing okay (this is how we learned they were rejecting bread and matzo). Eventually, a few months later, you can go in and pull out the “worm casings” as mom calls it. That’s the nutrient rich soil.

It’s such a great opportunity to teach children about reducing waste, gardening, worm lifecycles and also it’s really fun and rewarding to have worms doing dirty work for you!
We’re using this time to expand our worm composting since, due to quarantine, we’re making the garden bigger. So as we go through and pull out casings for the garden we are creating additional bins and moving some of the worms into the new bins.
I didn’t get too terribly specific here since there are lots of resources and how to videos on the web and you tube. Wanted to share how fun and rewarding this project is and introduce you to this awesome adventure!

